Using Linux or MacOSX you’ll sometimes have to deal with shortcomings of non-portable software at work. Luckily we’ll have Windows licenses available for our virtual platforms in order to
- use Internet Explorer and ActiveX voodoo
- connect to customer VPNs and Webex sessions
- develop Icinga 2 on Windows using Visual Studio
Windows 10
 Most recently I did break my Visual Studio environment, and was looking into the free upgrade to Windows 10. Since popup from the app „get Windows 10“ did not appear after installing all the requirements, I had to reschedule the check task manually and by some magic script. I don’t know which method won, the pc did run all night.
Though, the next bugger – the VirtualBox CPU is not compatible, the upgrade application tried to convince me. There are several tweaks required to run Windows 8.x+ but still it did fail on me. The solution is simple – don’t use the app, but instead the MediaCreation tool (open the link on Windows, otherwise it will redirect you to the ISO-download!) which also allows you to download the setup files for Windows 10 and install it right away.
Once the update was completed (fairly took some hours), Windows 10 greeted shiny and also it felt super-fast. Note: In case you’ll need to resize your primary partition, wondering about the recovery partition – use Gparted LiveCD to move partitions around.
So, what else would I need to compile Icinga 2 on Windows?
Requirements
Chocolatey
Similar to using packages on Linux, this nifty package repository is available for Windows as well. We’ll need that later on for some additional tools which we do not want to download/compile ourselves.
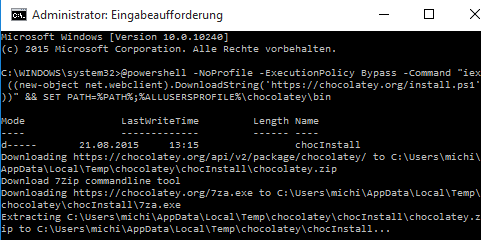
Open an administrative command prompt (Win key, type „cmd“, right-click and „run as administrator“) and paste the following instructions:
@powershell -NoProfile -ExecutionPolicy Bypass -Command "iex ((new-object net.webclient).DownloadString('https://chocolatey.org/install.ps1'))" && SET PATH=%PATH%;%ALLUSERSPROFILE%\chocolatey\bin
Visual Studio IDE
Thanks to Microsoft they’ll now provide their Professional Edition of Visual Studio 2015 as community version, free for usage for open source projects such as Icinga. The installation will require ~9GB disk space. Download the web installer and start the installation. Make sure to remove the web developer section, and only tick „C++“ (entire section!) and „Git on Windows“. After a while, Visual Studio will be ready.
Flex and Bison
Install it using chocolatey (thanks to this guide):
choco install winflexbison
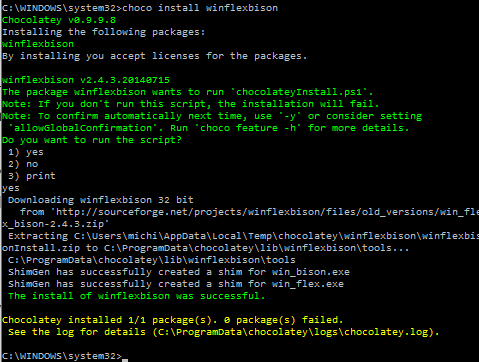
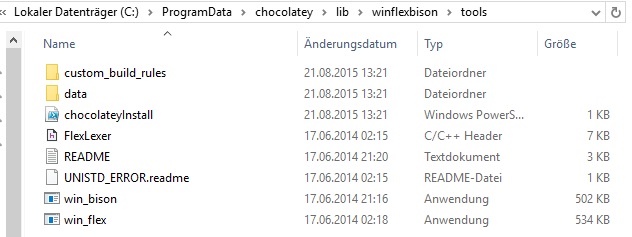
Chocolatey will install these tools into a hidden directory tree named „C:\ProgramData\chocolatey\lib\winflexbison\tools“.
OpenSSL
Icinga 2 requires the OpenSSL library (cluster, api). We’re building 32bit applications only so download the Win32 version and install it into the default path.
Boost
In order to use the boost development header and library files we’ll need to download boost and then extract it to e.g. „C:\boost_1_59_0“.
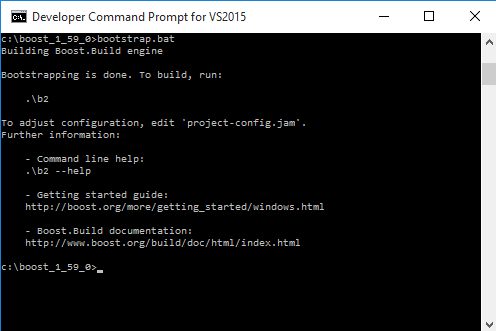
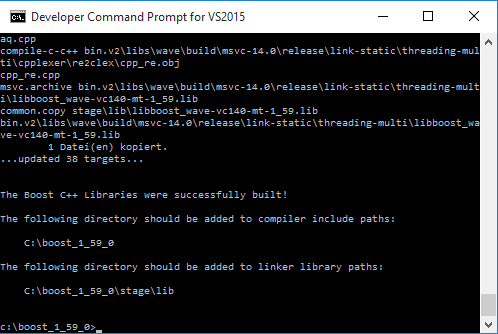
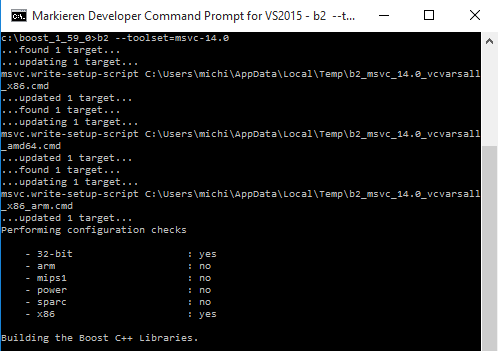
For integrating boost into Visual Studio 2015, open the „Developer Command Prompt from the start menu, and navigate to „C:\boost_1_59_0“. Then execute „bootstrap.bat“ first. Once finished, run „b2 –toolset=msvc-14.0“ to compile boost locally for Visual Studio 2015 whose internal version is msvc-14.0 (this takes quite some time).
C:\boost_1_59_0
bootstrap.bat
b2 --toolset=msvc-14.0
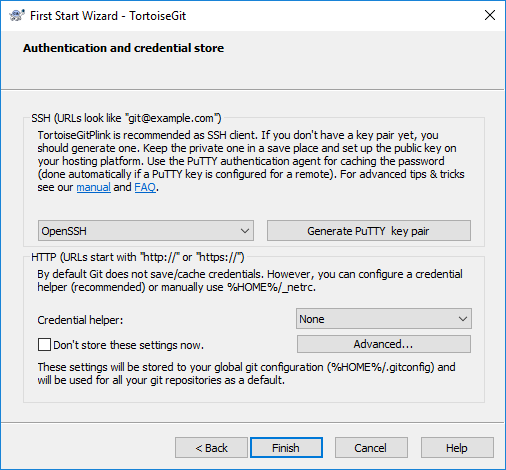
TortoiseGit
Next to the Git binary, we’ll also want a graphical integration. TortoiseGit works perfectly for that.
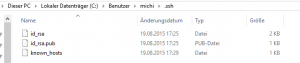 In case you’re a developer with SSH Git push access, you’ll also need to create a new directory called „.ssh“ inside your users home. Therefore open a command prompt (win key, type „cmd“, enter) and run „mkdir .ssh“. Then add your id_rsa private key and id_rsa.pub public key files into that directory.
Then choose to use „OpenSSH“ as default secure transport.
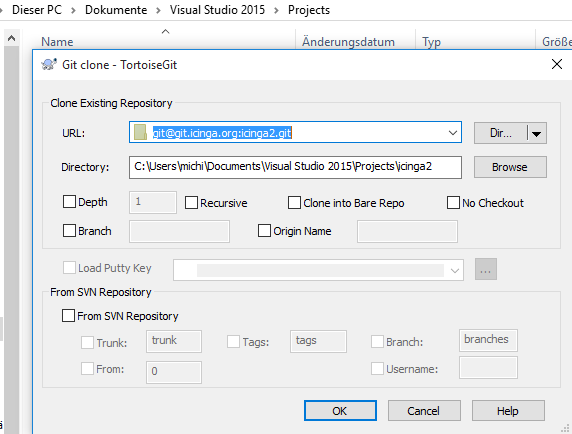
Verify it working by cloning the icinga2.git inside the Visual Studio projects directory. Right click and select „Git Clone“. Use „git@github.com/icinga/icinga2.git“ for SSH clones, „git://github.com/icinga/icinga2.git“ otherwise.

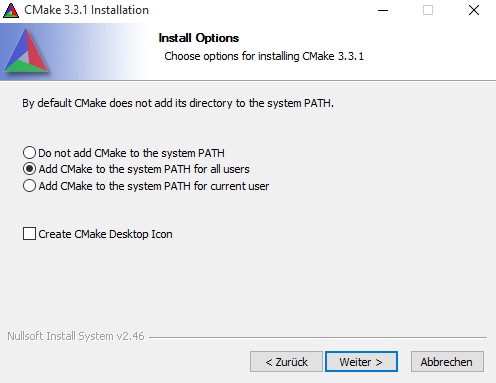
CMake
Icinga 2 uses CMake to manage the the build environment. Luckily we can generate the Visual Studio project files using cmake as well. Download CMake and tick to add it to PATH for all users.
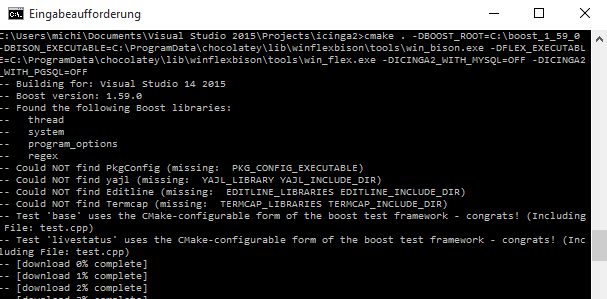
After installation, open a command prompt and navigate to „C:\Users\<username>\Documents\Visual Studio 2015\Projects\icinga2“ and run cmake using the following command. This will generate a new project file called „icinga2.sln“.
- BOOST_PATH
- BISON_EXECUTABLE
- FLEX_EXECUTABLE
- Disable builds for MySQL, PostgreSQL and Unity
C:\Users\michi\Documents\Visual Studio 2015\Projects\icinga2>cmake . -DBOOST_ROOT=C:\boost_1_59_0 -DBISON_EXECUTABLE=C:\ProgramData\chocolatey\lib\winflexbison\tools\win_bison.exe -DFLEX_EXECUTABLE=C:\ProgramData\chocolatey\lib\winflexbison\tools\win_flex.exe -DICINGA2_WITH_MYSQL=OFF -DICINGA2_WITH_PGSQL=OFF -DICINGA2_UNITY_BUILD=OFF
Icinga 2 in Visual Studio
Navigate to „C:\Users\michi\Documents\Visual Studio 2015\Projects\icinga2“ and double-click on „icinga2.sln“.

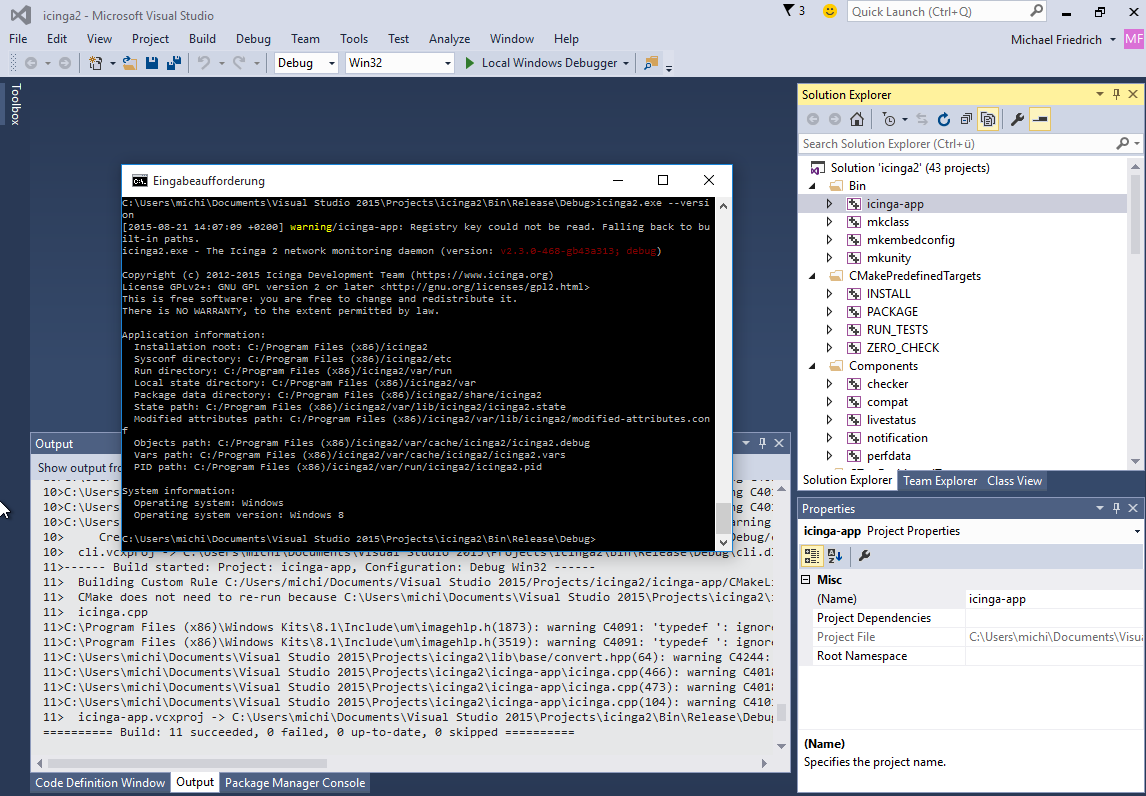
Inside Visual Studio 2015, build the „Bin\icinga-app“ solution.

Inside your command prompt, navigate to „Bin\Release\Debug“ and run „icinga2.exe –version“.
Conclusion
Apart from being able to develop Icinga 2 on Windows again, I’m also able to use one of the best C++ IDEs out there – Visual Studio (we are always looking for cross-platform alternatives such as CLion too).
Like what you see? Join us and help evolve Icinga 2 and Icinga Web 2 on all native platforms out there!


0 Kommentare
Trackbacks/Pingbacks